Tutorial · 4 min read
How to Synchronize Videos Recorded with Independent Cameras / Bodycams
Learn how to properly synchronize footage from multiple independent cameras or bodycams for accurate video analysis in INTERACT software.

If you want to collect and analyze video footage with multiple independent cameras (typically bodycams), this article shows you how to synchronize the videos for analysis later.
This approach can be used for all studies where multiple videos are to be recorded independently.
Possible applications include recordings with flight attendants, police officers, doctors, nurses, therapy sessions, during sports, etc.
The Challenge
Recording video from multiple independent cameras simultaneously and synchronizing them after recording to be able to view and analyze the video content from different perspectives simultaneously.
The question however remains: How can the independently recorded videos be synchronized in time for combined analysis?
That may be the goal:
- Analyzing the collected information per camera view.
- Performing sequence analysis to identify code patterns across all camera views.
- Identifying latencies between specific activities seen in different camera views.
- Finding the co-occurrence of activities recorded by different cameras.
- etc.

How it works

1) Study Design
Provide each participant with a camera so that they can reliably record the necessary and interesting scenes. Make sure that all participants wear a watch with seconds display that can be used for synchronization.
For synchronization, it is important that the cameras record during the entire time. Synchronization of video snippets recorded with pauses is possible, but too complicated for a general explanation.
2) Data Collection
Ask your participants to synchronize their watches accurately before starting the test. Once all watches are synchronized, ask all participants to start their recording device and hold the watch in the camera’s field of view for at least 5 seconds. This information will allow you to synchronize all recordings afterwards.
3) Prepare Your Data
Once your test is complete and all recordings have stopped, copy all video files to your computer’s hard drive - preferably all to the same folder. Be sure to name each video file so that it is clear which camera was used to record it.
4) Synchronize the videos
Open all videos simultaneously in INTERACT and synchronize them based on the now visible time information of the clock recordings at the beginning by moving the videos to a position that is identically visible in all recorded videos. This can be easily done using the settings icon in each video window.
Accuracy can go down to a single video frame, especially if you can see the clock switch to the next second. This changeover usually occurs within one video frame. Therefore, all videos can usually be synchronized with an accuracy of a few frames.
5) Save the Time Offset Information
To store this information, create a DataSet in INTERACT named “Synchronized Videos” or similar and link all video file names including the synchronized time information to this DataSet by calling the “Link” function in the menu that pops up by clicking the right mouse button. If necessary, refer to the INTERACT help.
6) Create a DataSet for each Video
To capture codes and transcriptions individually per camera perspective (per video), it is best to use a separate DataSet for each video during the coding process.
Simply copy and paste the above DataSet (with all video file names and time offset information) into the INTERACT document as many times as you have video files. Remove all video link information from the DataSet transcripts so that each DataSet ends up being linked to a different video.
(To distribute the workload among multiple encoders, you can also create a single data file for each video.)
7) Collect Codes through Video Observation
Open the prepared data file and double click the time value of your DataSet to open the video that was linked to that DataSet. This ensures that the required synchronized time information is known by INTERACT. Do NOT open your video manually - in that case INTERACT would not know about the time-shift! From here, your data collection (coding) process starts as described in many ways in the INTERACT manuals / help file.
Your advantage with INTERACT
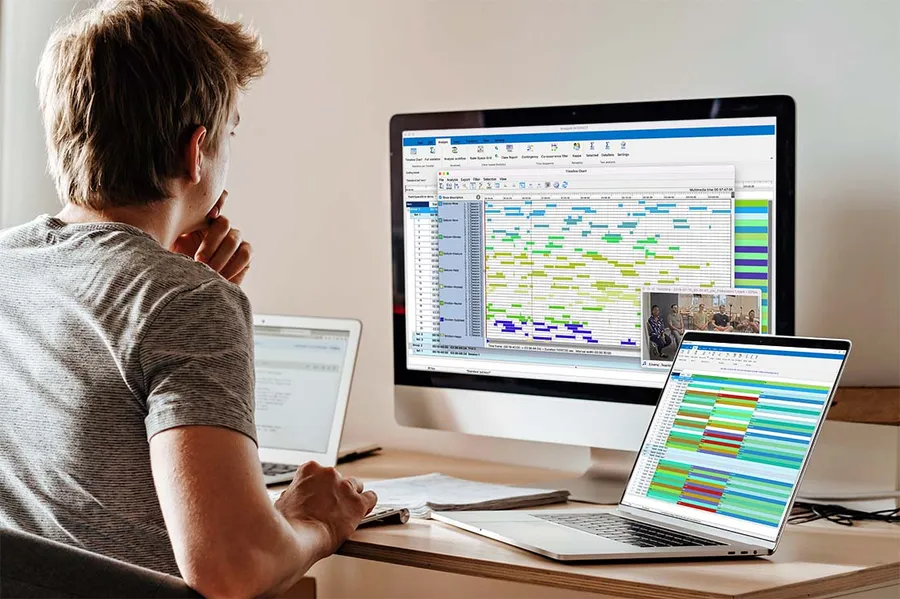
Play mutliple videos in-sync.
Manually synchronize independent videos without the need for a video editor or the time-consuming process of encoding an edited version of the original recording.
Additonally, one of the biggest advantage of INTERACT is its ability to re-organize, rename and move collected data at any time, should you notice that your initial structure is not perfect to find the answers you are looking for.
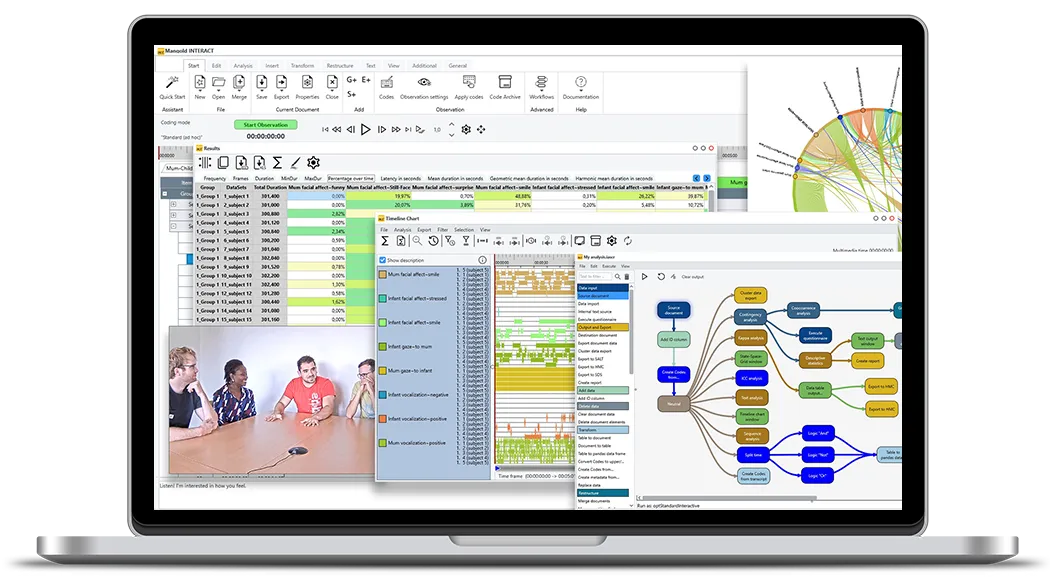
INTERACT: One Software for Your Entire Observational Research Workflow
From audio/video-based content-coding and transcription to analysis - INTERACT has you covered.